Practical guide · H·01
Hot composting, week by week.
Cold composting is a waiting game; hot composting is a process you run. Get the pile to 120–160 °F, hold it, turn it on a schedule, and stop when the heat stops — and the pile finishes in weeks, with the pathogen and weed-seed kill that the thermophilic phase is actually for.
Why hot — and what heat is actually buying you
Two things. First, speed: a properly built and turned pile goes from raw inputs to finished compost in roughly 3–6 weeks, versus the 6–12 months of a turned-when-remembered cold pile. Second, the reason the method exists in the first place — the thermophilic phase is the sanitation event. Holding a pile at 131 °F (55 °C) for three consecutive days is the USDA’s benchmark for pathogen reduction, and sustained heat above 140 °F is what kills most weed seeds. A pile that never exceeds 100 °F has composted your leaves; it has not composted in the sanitary sense.
The honest tradeoff: hot composting demands a minimum mass. The pile has to be big enough that its core stays insulated — the site uses roughly 4–5 cubic meters, and the common backyard floor is a cube about 4 feet on a side, built all at once. Below that, the core cools as fast as it heats, and you’re running a cold pile that briefly smells like a hot one. If your material stream is small, a worm bin or a countertop machine is the honest tool, not a smaller hot pile.
The build — one day, the right ratios
A hot pile is built in a single day, because a pile that starts with all its material in place is the only pile whose first turn is a decision rather than an assembly. The working ratio is 25–30:1 carbon-to-nitrogen — the USDA band for the initial mix is 25–40:1, and most backyard material lands better at the low end:
- Carbons (browns): dry leaves, straw, shredded cardboard, wood chips (coarse, on the outside), sawdust (not treated lumber).
- Nitrogens (greens): fresh grass clippings, vegetable scraps, coffee grounds, manure from herbivores.
Practical layering: a foot of coarsely shredded carbon on the bottom for drainage and airflow, then alternating shovelfuls of greens and carbon up the pile, finishing with a lid of two-plus inches of browns. Chopping greens before they go in roughly doubles the surface area the microbes attack — the single biggest lever on speed. Check the wrung-sponge test while building: the pile should feel like a damp towel, never dripping, never dusty. A dry pile will not ignite; a soaking pile will go anaerobic and smell like a dumpster.
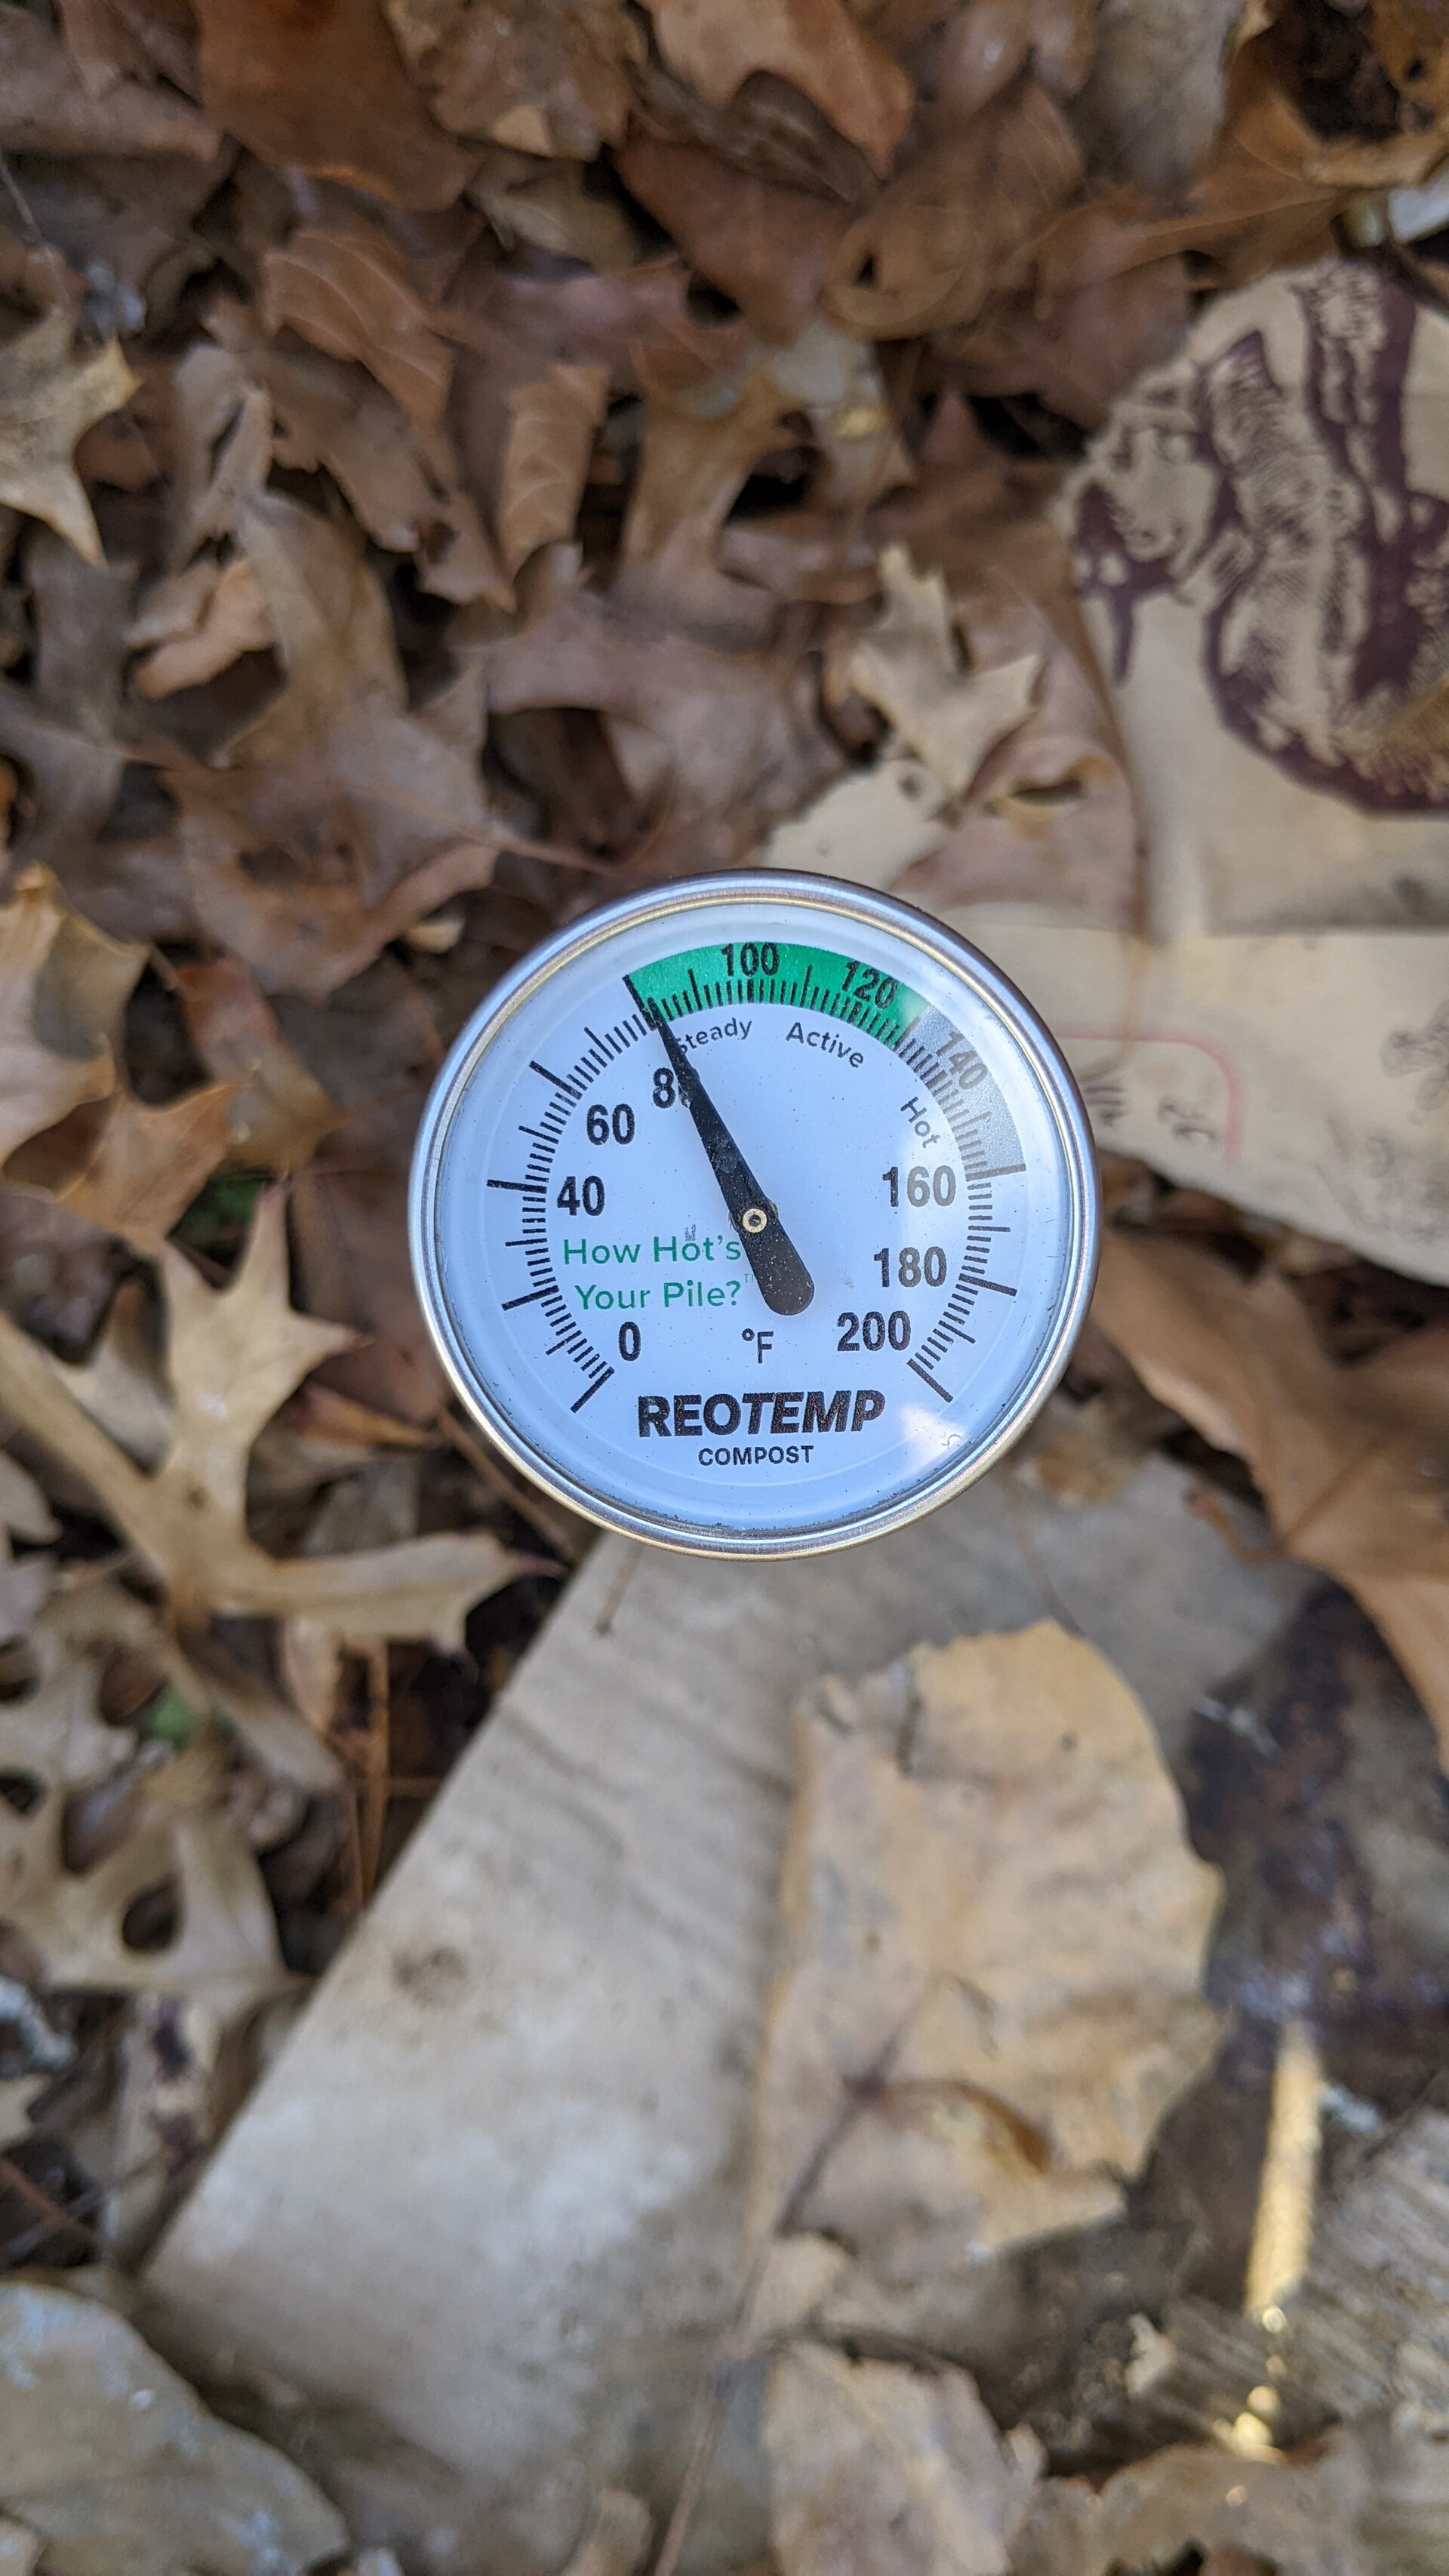
Tooling note: a long-handled compost thermometer is the only instrument the method truly requires. A probe you can push 12–18 inches into the core: REOTEMP 20-inch thermometeraffiliate link. Aeration between turns comes from a wide-tined fork or a corkscrew-style aerator: stainless compost corkscrewaffiliate link.
Week 1 — Ignition
Within 24–48 hours of the build, the core should start climbing. Check the center of the pile (not the edge — the edge will always read 10° lower and will lie to you) every day or two:
By day 3–4 you want to see 130–150 °F. If it hits, leave it — the first turn is a timing decision, not a temperature one. Around day 5–7, do turn one: move material from the outside and bottom to the center, outside to center, so the material that has cooled gets buried and the hot core is exposed to air. You should feel the heat and see a faint steam, and the material you’re moving should be getting darker and finer. That texture change — leaves turning black and friable — is the visible proof the thermophilic phase is doing its work.
If the core isn’t above 120 °F by day 5, the usual culprits in order: too little mass (pile is too small to hold heat), too much carbon (browns are smothering the microbes), or the pile is dry. The fixes are to add greens, to chop the greens finer and add a little moisture, or to add a layer of manure as a microbial inoculant — the last one is the classic spark for a dead pile.
Weeks 2–3 — Hold the heat
Now the discipline. Turn every 2–4 days while the core stays above 120 °F. Each turn reintroduces oxygen — the limiting ingredient — and the temperature should bounce back up within a day or two of each turn. A core that peaks and doesn’t recover after a turn is telling you the easily-fermentable nitrogen is running out; the pile is transitioning to the cure, and that’s fine.
Keep the moisture at the wrung-sponge test after every turn — turning dries the surface, and a pile left too dry through the hot phase stalls. This is the phase where the pile visibly shrinks, darkens, and starts to smell like a forest floor instead of a feedlot. If it smells like ammonia, you over-loaded greens; work in a layer of browns at the next turn. Total turns for the hot phase: the USDA windrow standard is 5+ over the process, and a backyard pile that does 3–4 good turns in the hot phase plus one at the start of the cure is in the right neighborhood.
Weeks 4–6 — The cure, where finish quality is decided
The heat stops. The core drifts below 100 °F, the material is dark, crumbly, and smells like soil — and most people stop here, too early, and end up with compost that’s dark but not finished. The mesophilic microorganisms and fungi that do the final breakdown work slowly, over weeks, and skipping the cure means you’re sifting out half-finished fragments into your garden.
Cure it: stop turning (or turn once, gently), and let it sit. The pile will cool, dry out a little, and keep maturing for 2–4 more weeks. It’s done when the material is uniform in color and texture, smells like a forest floor, and you can’t find a recognizable piece of the original input — the classic test is to sieve a handful through a screen and find almost nothing on the top. That residue is your next pile’s inoculant, not waste.
For a continuous backyard system, the cure is also where you set up the rotation: the finished third of the yard becomes the new pile’s base, and the process becomes a three-bay rhythm — build, active, cure — which is exactly what the multi-bay bins in the compost bin roundup are built for.
When hot composting is the wrong tool
Be honest about the material stream before committing to the method. If you generate a few bags of yard waste a season, a cold three-bay pile will serve you for years and hot composting will frustrate you — the mass requirement is not optional. If you’re urban with kitchen scraps and no yard, the honest tools are a worm bin for the food and a countertop machine for the volume. Hot composting shines when three things align: enough material to fill a 4-foot cube at once, somewhere to put a pile, and the willingness to do the turns on schedule. When they align, it’s the fastest and most sanitary compost you can make.
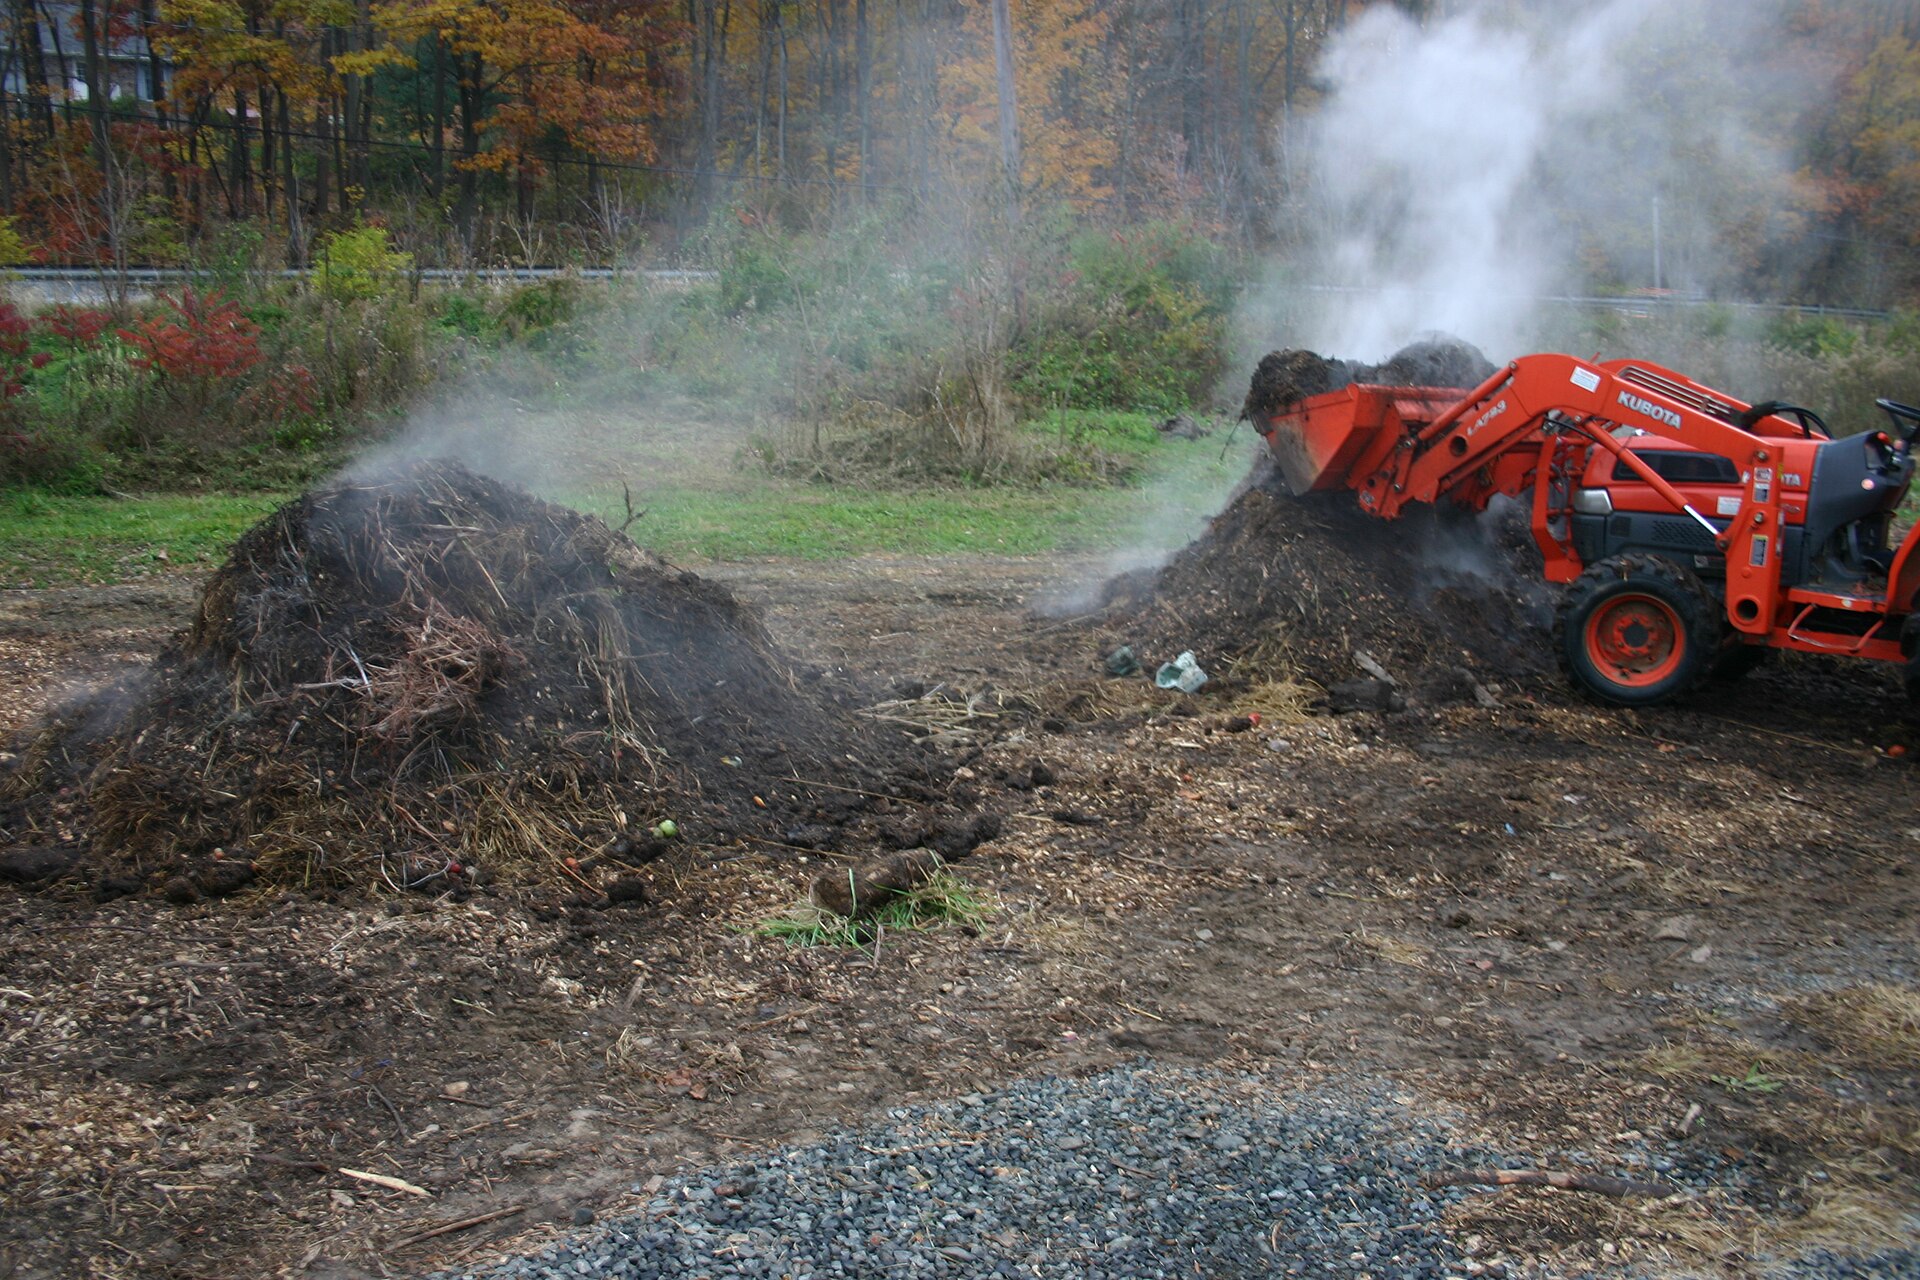
Turn it on schedule. Stop when the heat stops.
Affiliate note: the thermometer and aeration links on this page may earn us a commission at no extra cost to you. We buy and test the gear ourselves; the review stands on the specs, not the link. Full disclosure