Practical guide · V·01
Vermicomposting, step by step.
A worm bin is the smallest compost system that will eat your kitchen scraps year-round — if you respect the three numbers: feed rate, moisture, and temperature. Here is the whole process, with the math and the troubleshooting table.
Why worms, and what they’re actually doing
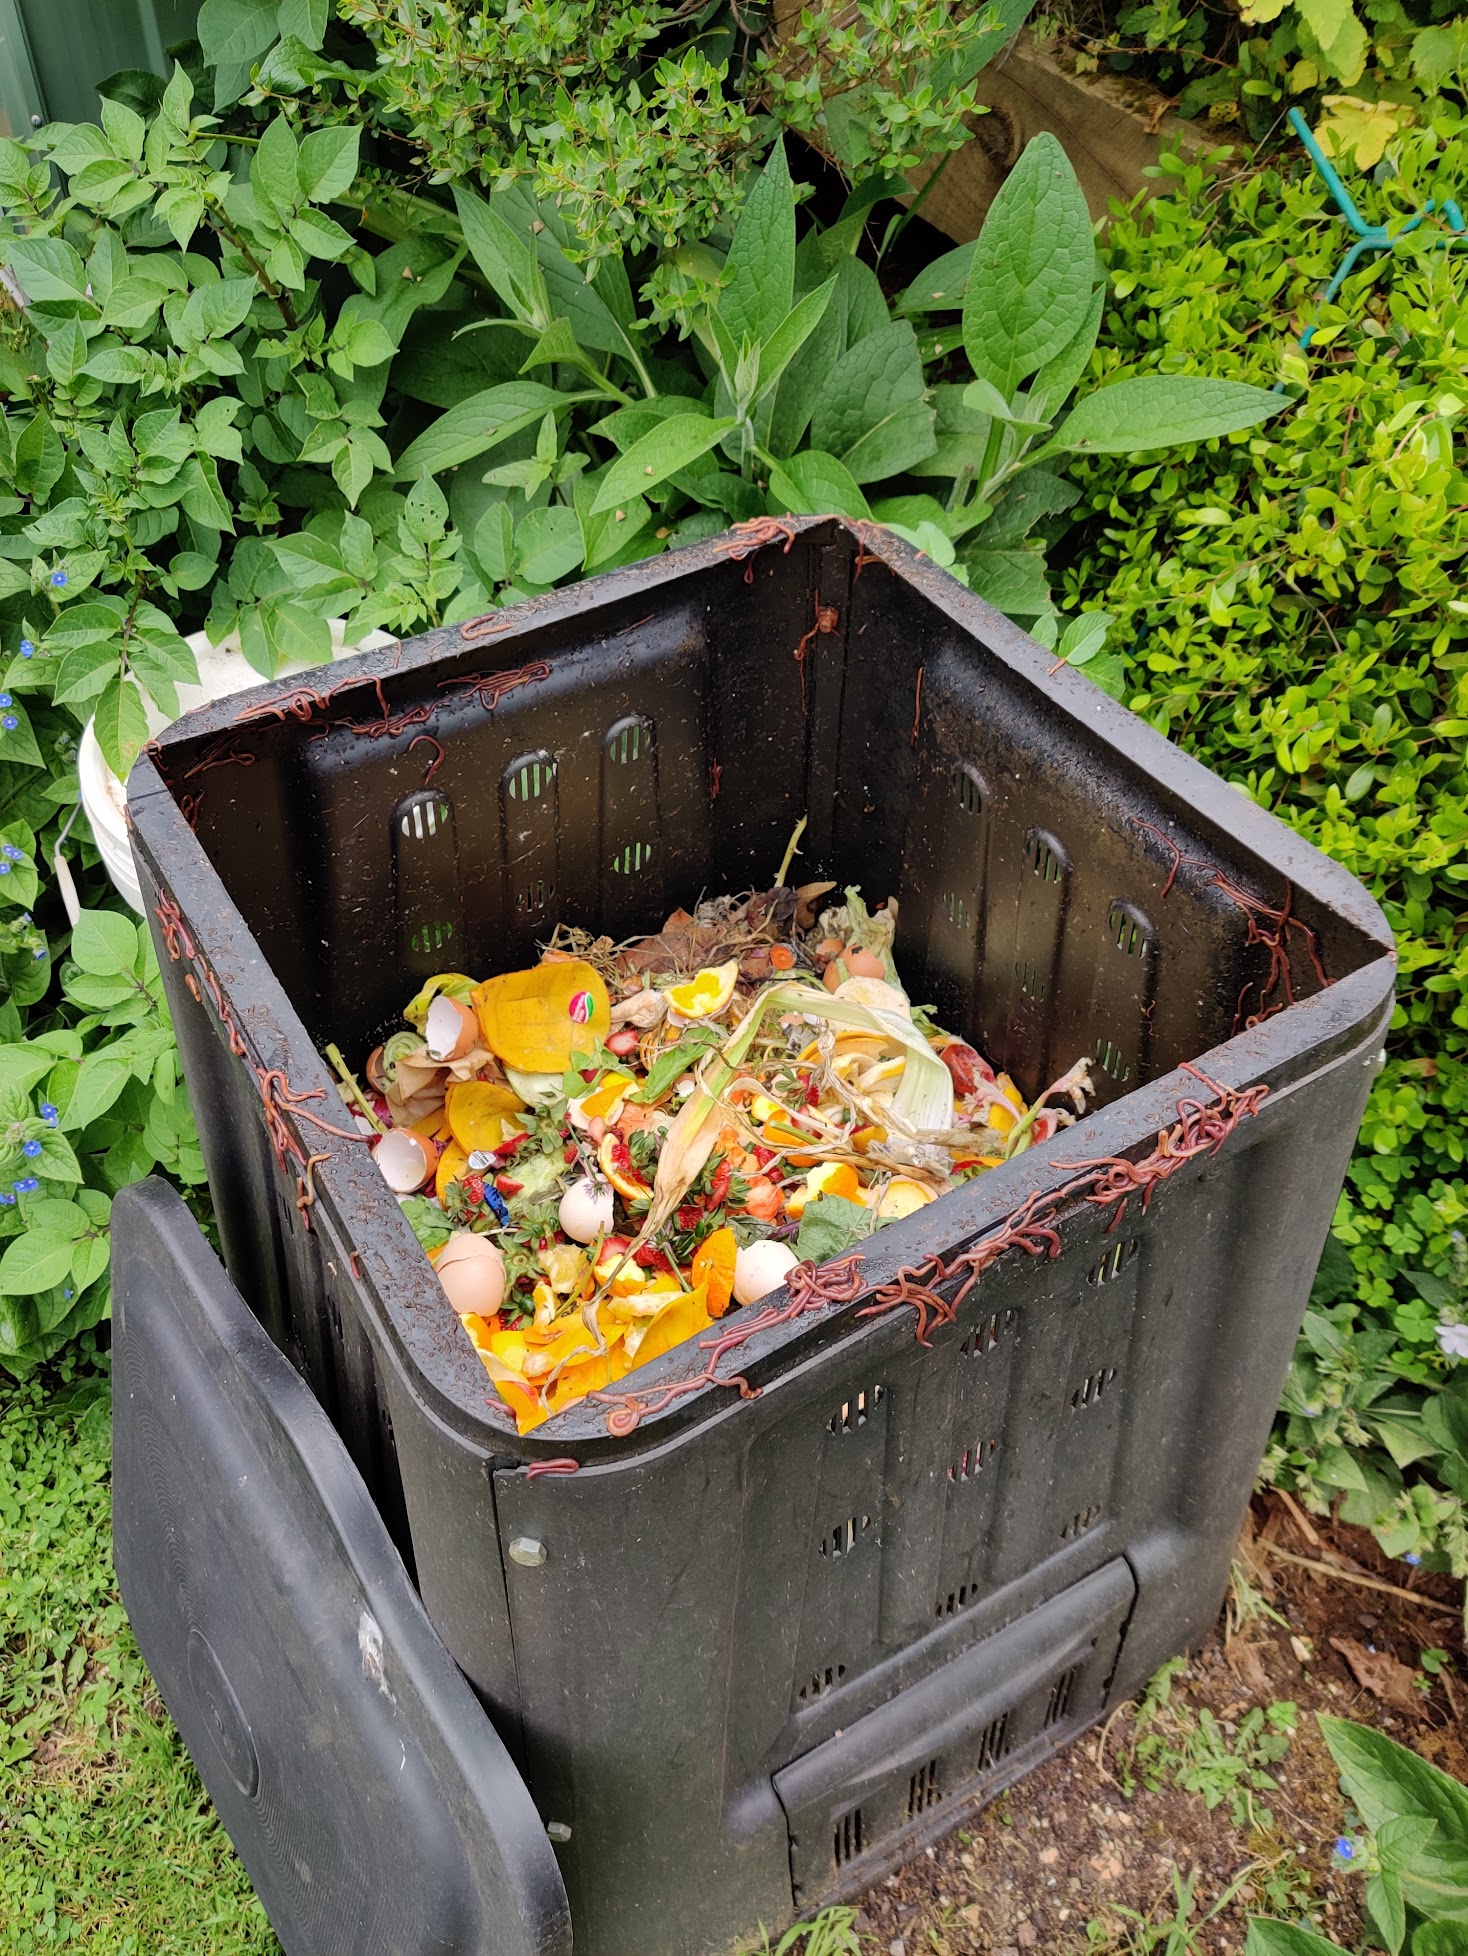
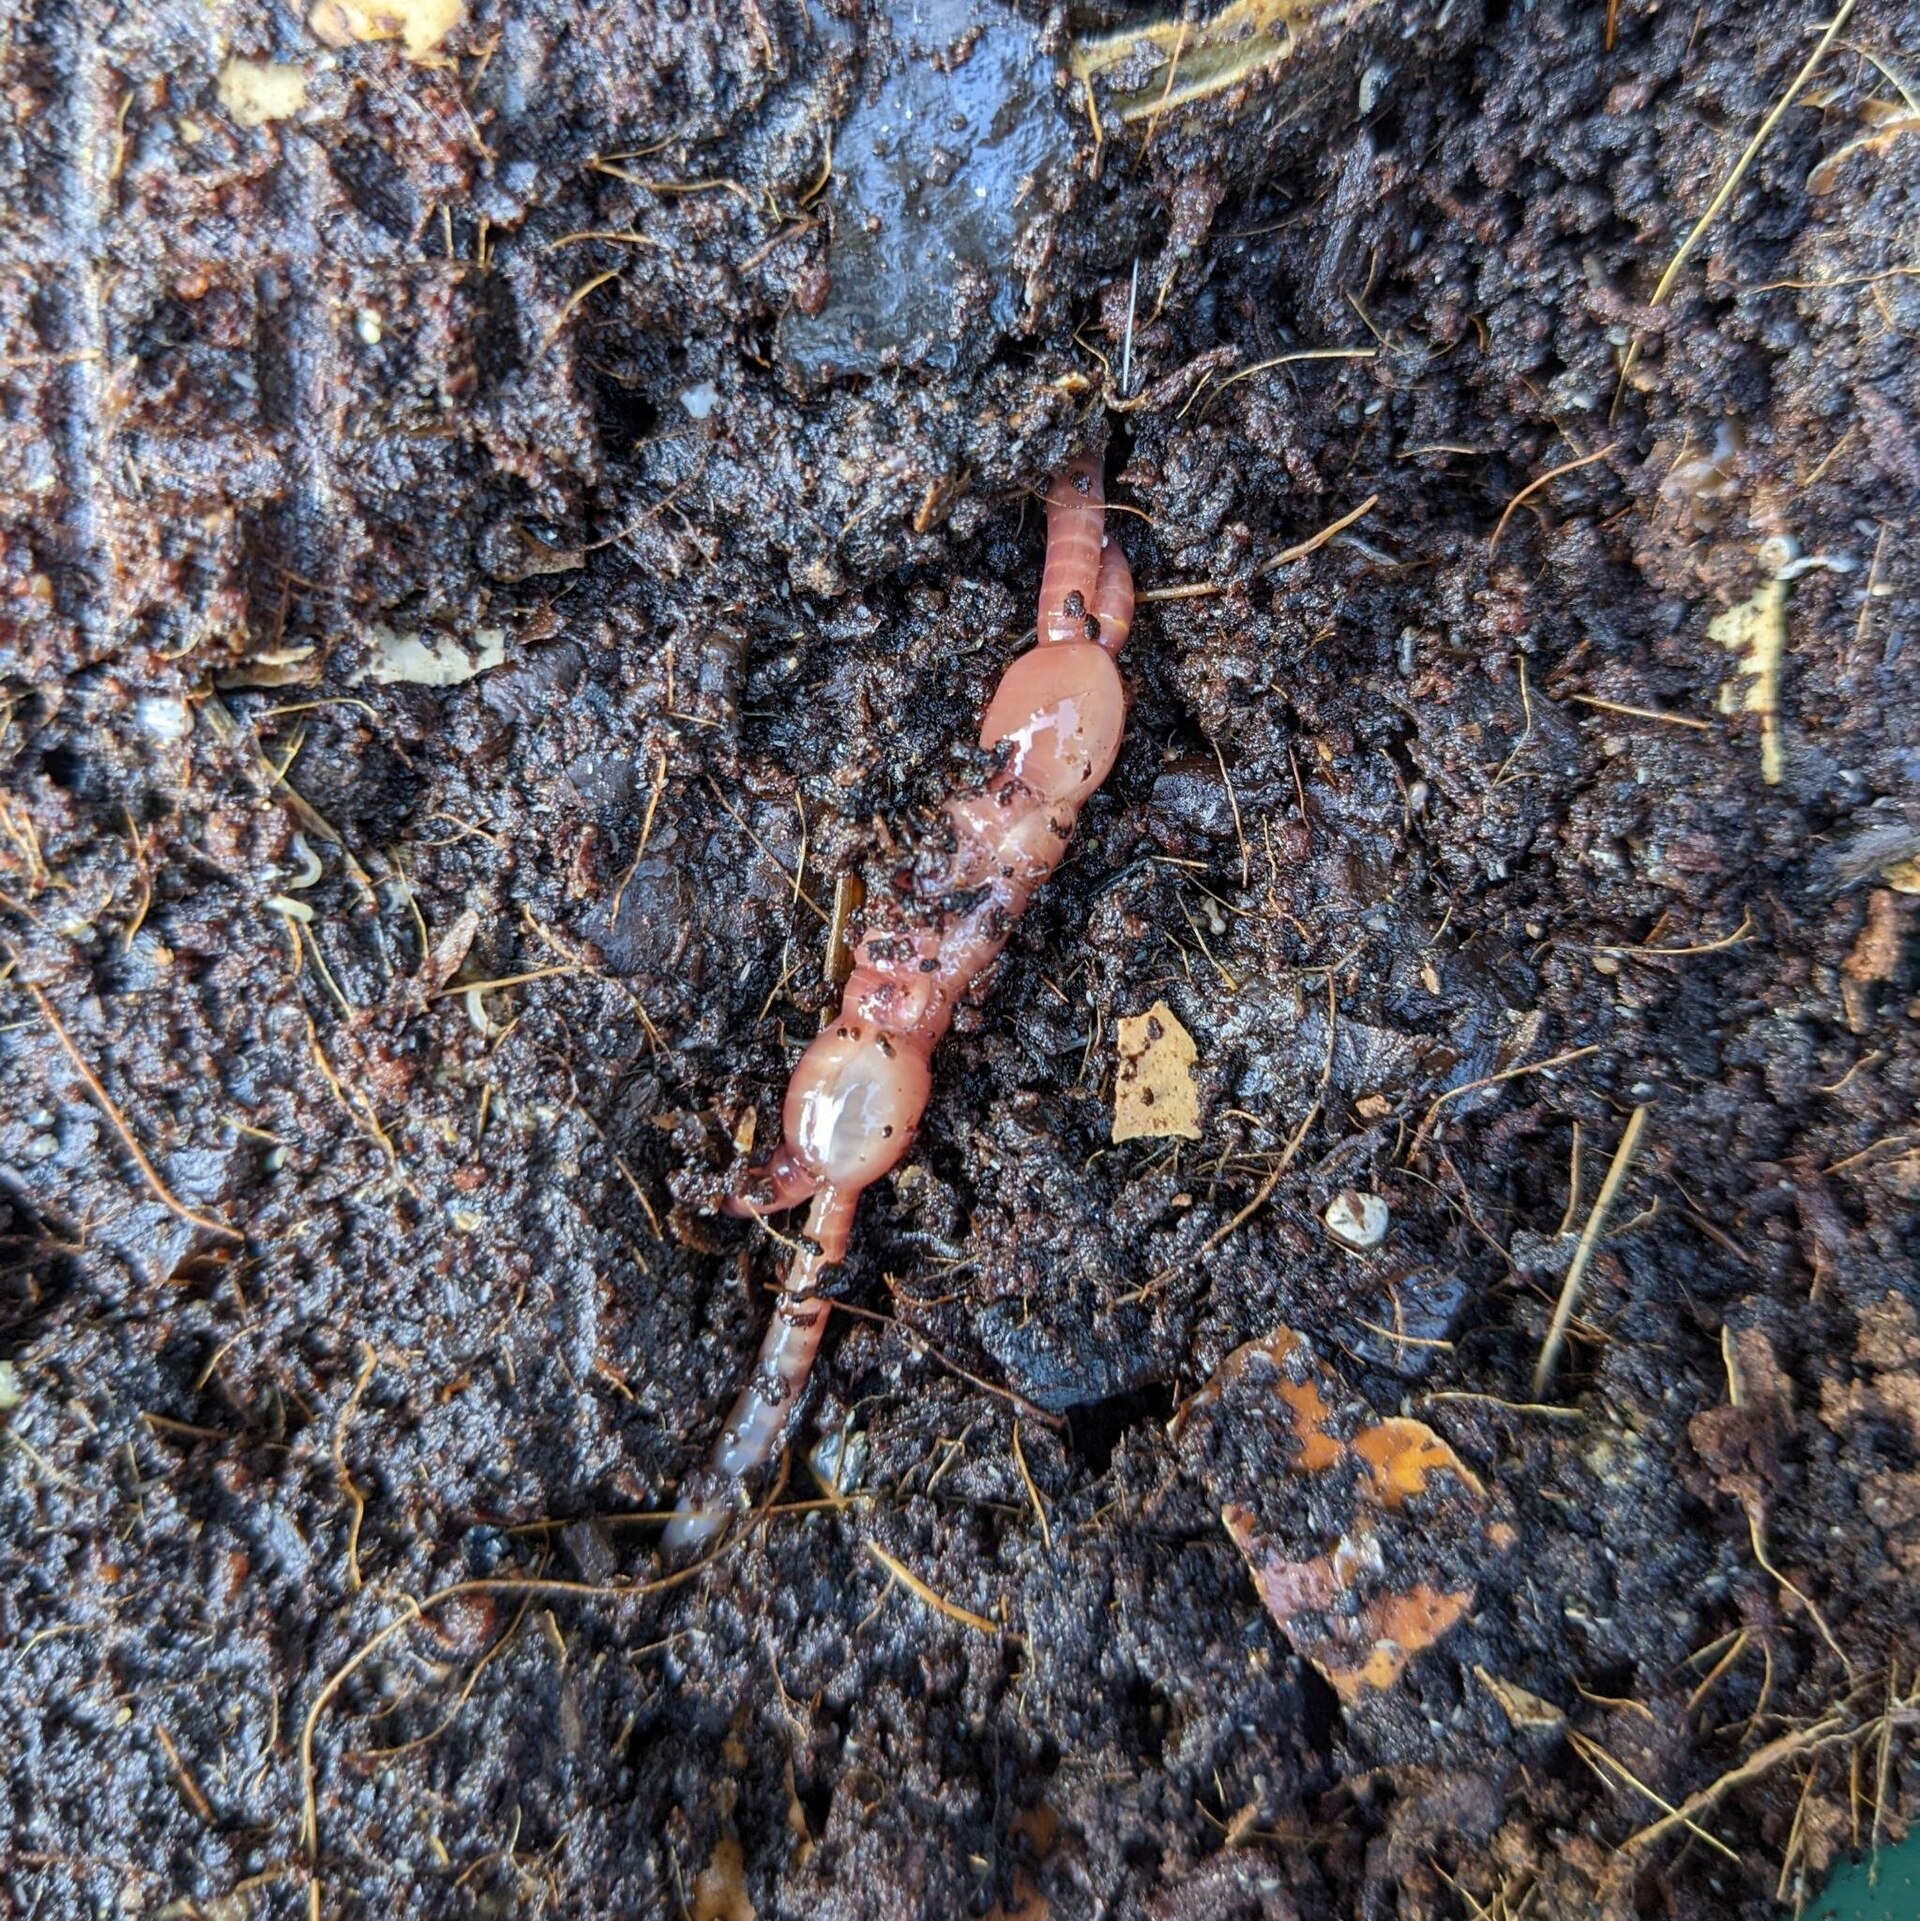
A hot pile works by getting hot — 120–160 °F. A worm bin works the opposite way: cool, moist, and continuous. Red wiggler worms (Eisenia fetida) eat the food, and the microbes in their gut and in the bedding do the actual decomposition. What comes out — castings — is fine, dark, and has roughly an order of magnitude more available plant nutrients than typical soil. That’s the commonly cited figure in the vermicomposting literature; treat it as a rule of thumb, not a lab result, but it is why castings are used on seedlings and houseplants where slow, steady nutrition matters more than bulk.
The tradeoff is throughput. Two pounds of worms will process somewhere between a half-pound and a pound of food per day — the 25–50% figure comes from Alabama Extension, the up-to-100% figure from UC ANR, and the practical planning number is half. One household generating two pounds of scraps a day needs a bigger worm population than a household generating half a pound. The bin you buy in step one should match your scraps, not the other way around.
Step 1 — Pick the bin your scraps demand
Three designs cover nearly every situation, and the choice is a math problem, not a style problem:
-
V·1A
A 10-gallon bag under the sink that worms can climb through from the kitchen to the bag. Best for 1–2 people; cheapest way to start; harvest is a two-minute pull-up of the bag.
-
V·1B
VermiHut Plus (5-tray)affiliate link
The stackable-tray workhorse: feed at the top, harvest castings from the bottom tray, and the middle trays buffer the process. The design most small-scale vermicomposters converge on.
-
V·1C
A simple lidded bucket with a drainage layer — the cheapest entry point and the most forgiving shape for a first bin. Fewer features, more attention required.
Full head-to-head on all five bins we tested — capacity, continuous-flow harvesting, drainage, footprint: Best Worm Bins → The VermiHut Plus 5-tray has earned a full review of its own: VermiHut Plus 5-tray review →
Step 2 — Buy the right worms (1,000 per pound)
Red wigglers, not garden worms. Garden earthworms burrow deep, tolerate dry soil, and will slowly leave a bin; red wigglers are the compost-adapted species that thrive in exactly the conditions a bin provides. A pound is roughly 1,000 worms and a starting population for a medium household.
Live-worm orders from a dedicated breeder beat general marketplaces — you get a guaranteed count and a species label: Red wigglers, ½–1 lb (live) — Hungry Wormsaffiliate link. If you’re in a warm climate and want a second species for a yard bin, African nightcrawlersaffiliate link are the common alternative.
Step 3 — Bury the food, don’t dump it
The single most common beginner mistake is putting a pile of food on top of the bin and walking away. Food sitting on the surface dries out, smells, and grows flies; the worms below starve. Instead:
Cut scraps to rough coin size (smaller = faster), dig or squeeze open a hole in the bedding, drop the food in, and cover it with a handful of dry bedding — shredded cardboard, newspaper, dry leaves. The bedding cover is the smell insurance: it wicks moisture out of the food and keeps fruit flies from laying in it. Alternate feeding sides of the bin so the population spreads evenly.
Feed on the planning rate — half the worms’ body weight per day. A half-pound starter population means roughly a quarter pound of food per day, which for most households means feeding every other day. Overfeeding is the #1 cause of a smelly bin: the microbes can’t keep up, the bottom layer goes anaerobic, and the sour smell is the signal. Underfeeding is harmless — the worms just get thin and the harvest takes longer.
What to skip: meat, dairy, and pet waste (odors and parasites), and large quantities of citrus or onion at once (acidic in bulk; small amounts are fine). Everything else from the kitchen goes in, including coffee grounds and tea bags.
Step 4 — Keep the climate boring
Worms don’t need a thermostat; they need the extremes never to happen. The window the literature agrees on is roughly 55–80 °F, with the sweet spot around 60–70. Below 50 they slow to a crawl (a garage bin goes near-dormant in winter — expected, not failure); above 85 they start dying, and a bin left on a hot porch in July is the classic summer kill.
Moisture is the wrung-out-sponge test: squeeze a handful of bedding and you should feel damp, never dripping. The 60–85% range from the extension literature, with ~80% as the target. Drying out is the more common problem — a spray bottle and a lid that actually closes fix both. A bin that smells like ammonia is too wet and nitrogen-loaded; a dusty bin that the worms are clustering in one corner of is too dry. The smell and the clustering are the two diagnostic signals that matter.
Step 5 — Harvest castings (siting, not sorting)
Don’t sort worms out of the castings by hand; move the food and let the worms follow. This is called siting:
- Stop feeding, and push all the existing food to one side of the bin (or the top tray, on a stackable system).
- Keep feeding on that side for two weeks. The worms migrate toward the food.
- The other side is now castings with very few worms — harvest it. On a tray bin, you’re just pulling the bottom tray.
- Repeat on the opposite side on the next cycle.
A mature, well-fed bin produces a harvestable layer roughly every 4–6 weeks. Castings go on seed-starting mixes (about 20–30% by volume is the common gardener’s ratio), on houseplants, or worked into beds. The liquid that drains out — worm tea from the drain spout — is diluted compost leachate, not a brew; water it down a few parts to one if you use it on plants. If you want the aerated version, the compost tea guide covers the brewing side.
Troubleshooting, by smell and sight
-
T·1
Sour, vinegar smell
The bottom layer has gone anaerobic, almost always from overfeeding. Stop feeding, cover food with bedding, and add dry carbon (cardboard) to the wet end. It clears in a few days.
-
T·2
Worms migrating to the top or the edges
They’re looking out of the conditions. Check temperature first (summer porch heat), then moisture, then overfeeding. They can’t send you a text; migration is the text.
-
T·3
Fruit flies on the surface
Food is exposed and dry. Bury it, add the bedding cover, and a small dish of apple-cider vinegar on the surface (not in the bin) breaks the cycle within a week. The worms also eat the fly larvae, so a healthy bin self-corrects.
-
T·4
Nothing happening, worms look thin
Underfeeding. Feed the planning rate consistently for two weeks and watch the food disappear within a day or two — food vanishing fast is the sign the population is ready to be doubled, which you can split off into a second bin.
The bin is a week of setup. The worms are a day.
Affiliate note: links to worm bins and live worms on this page may earn us a commission at no extra cost to you. We buy and test the gear ourselves; the review stands on the specs, not the link. Full disclosure